DIY Salt Dough Ornaments and Easy Mobile
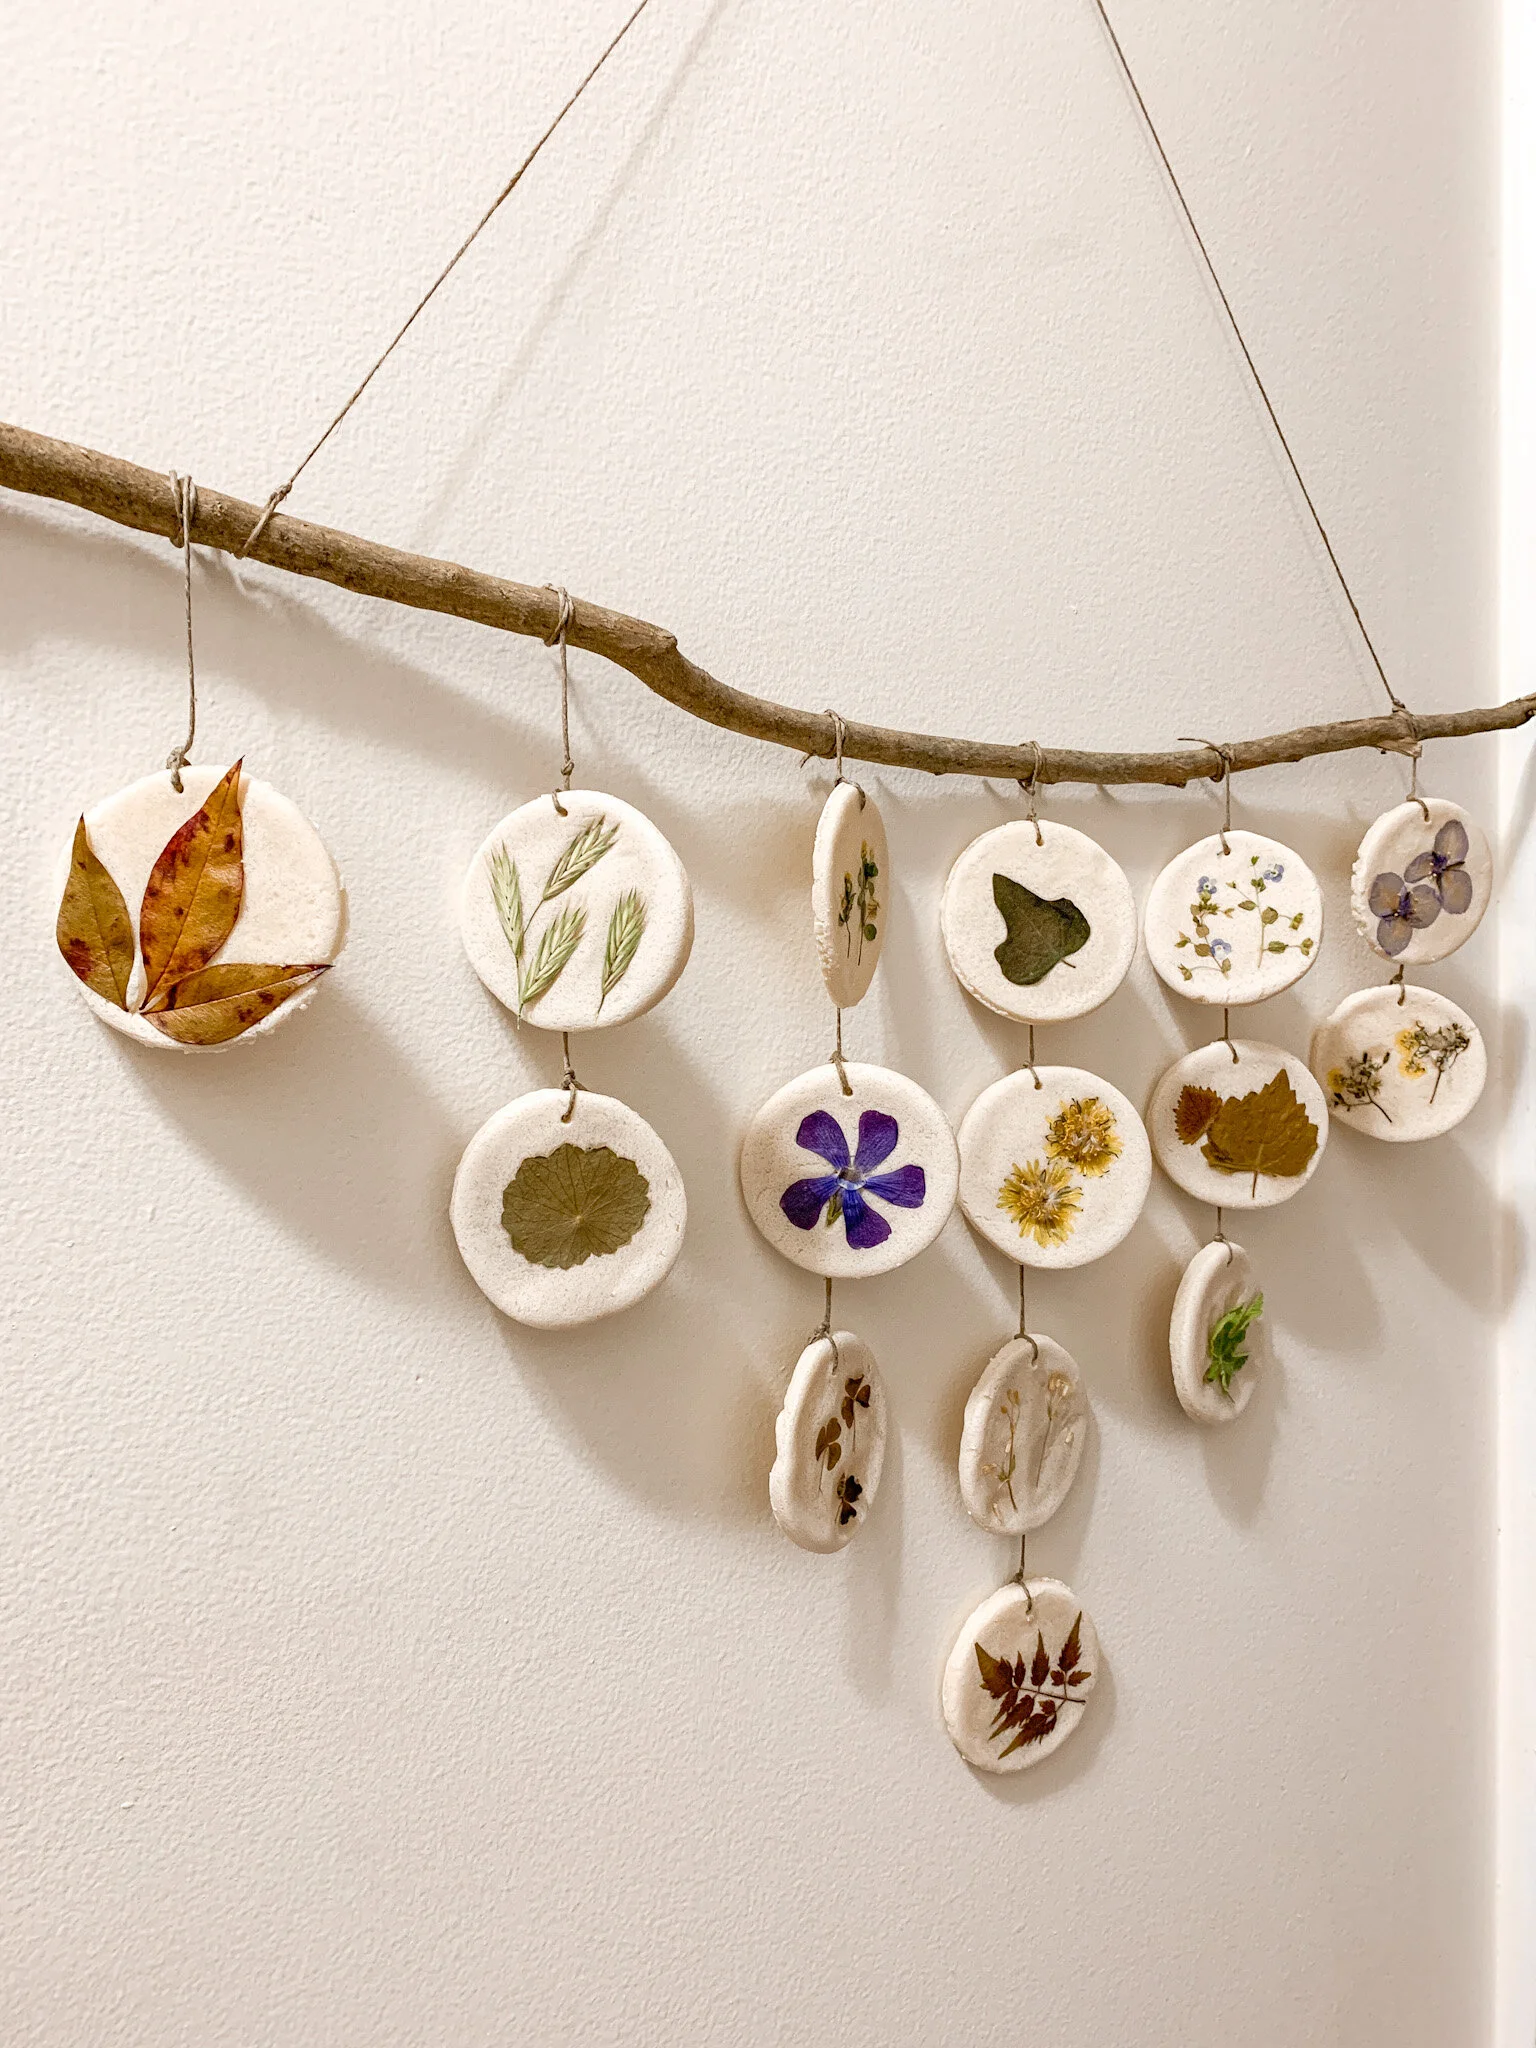
I shared this fun kids craft idea on my Instagram stories and got some requests for a how-to tutorial and what I was making. So here are my DIY Salt Dough Ornaments and Easy Mobile.
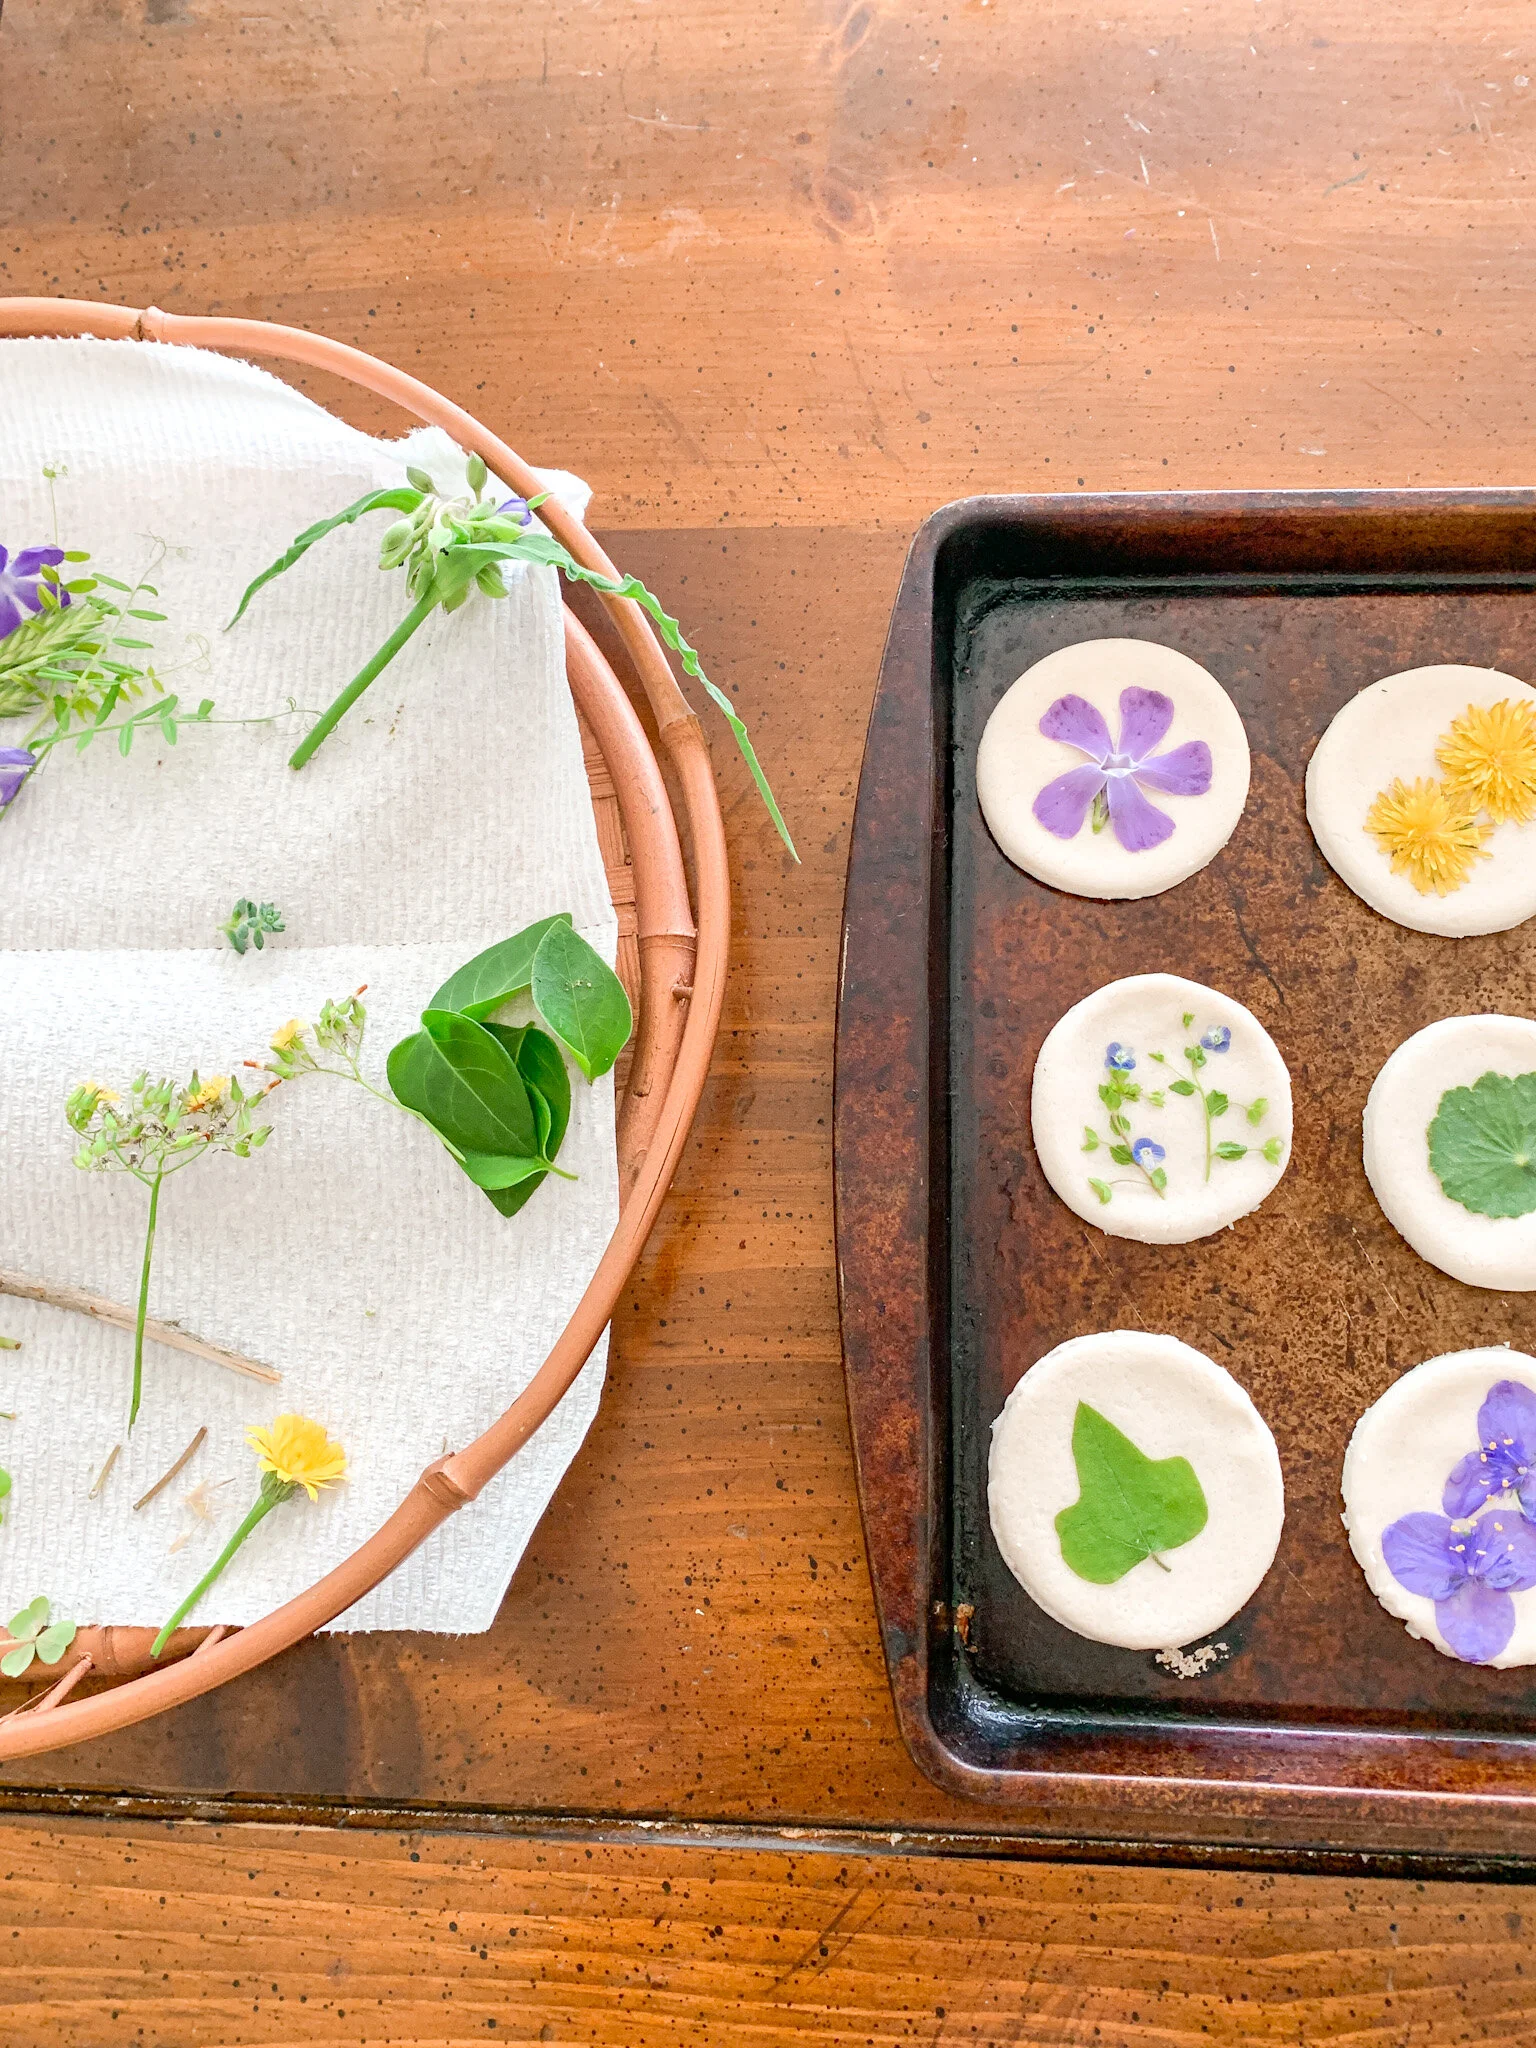
Step 1: Pick your flowers
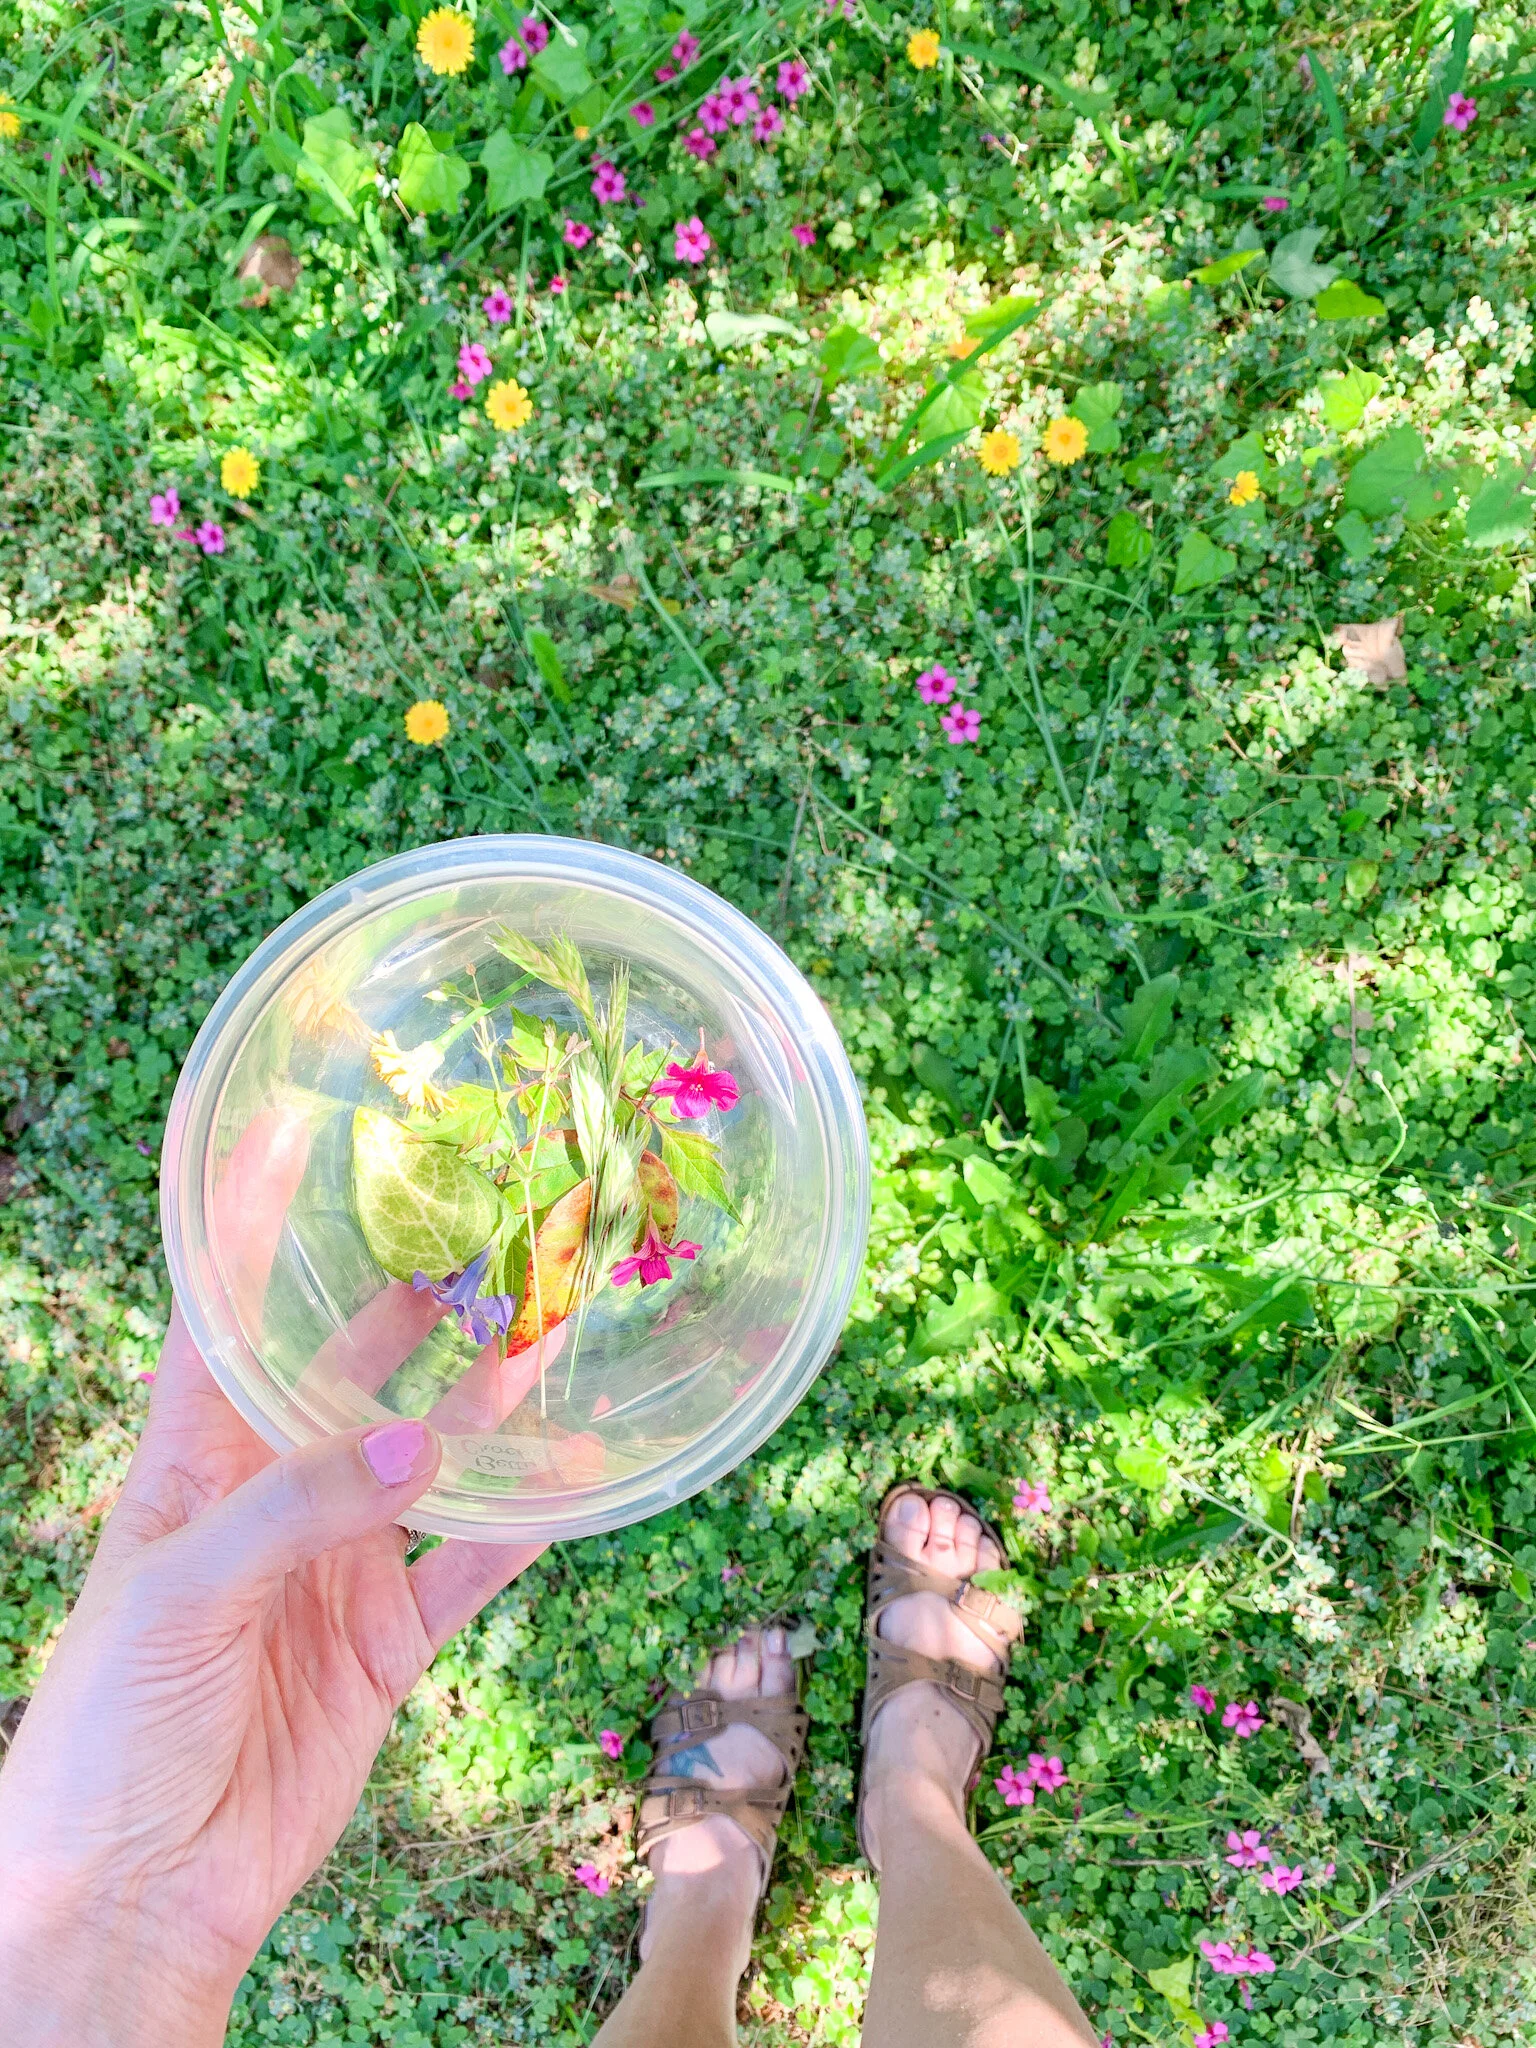
I just took a bucket around with us and we picked all kinds of things from our backyard. I wanted to make sure we got a bunch of different flowers and leaf shapes. We also have a fig tree and grape vines, special to our backyard at this house, so I wanted to include those in the craft since it’s so meaningful.
Step 2: Lay everything out
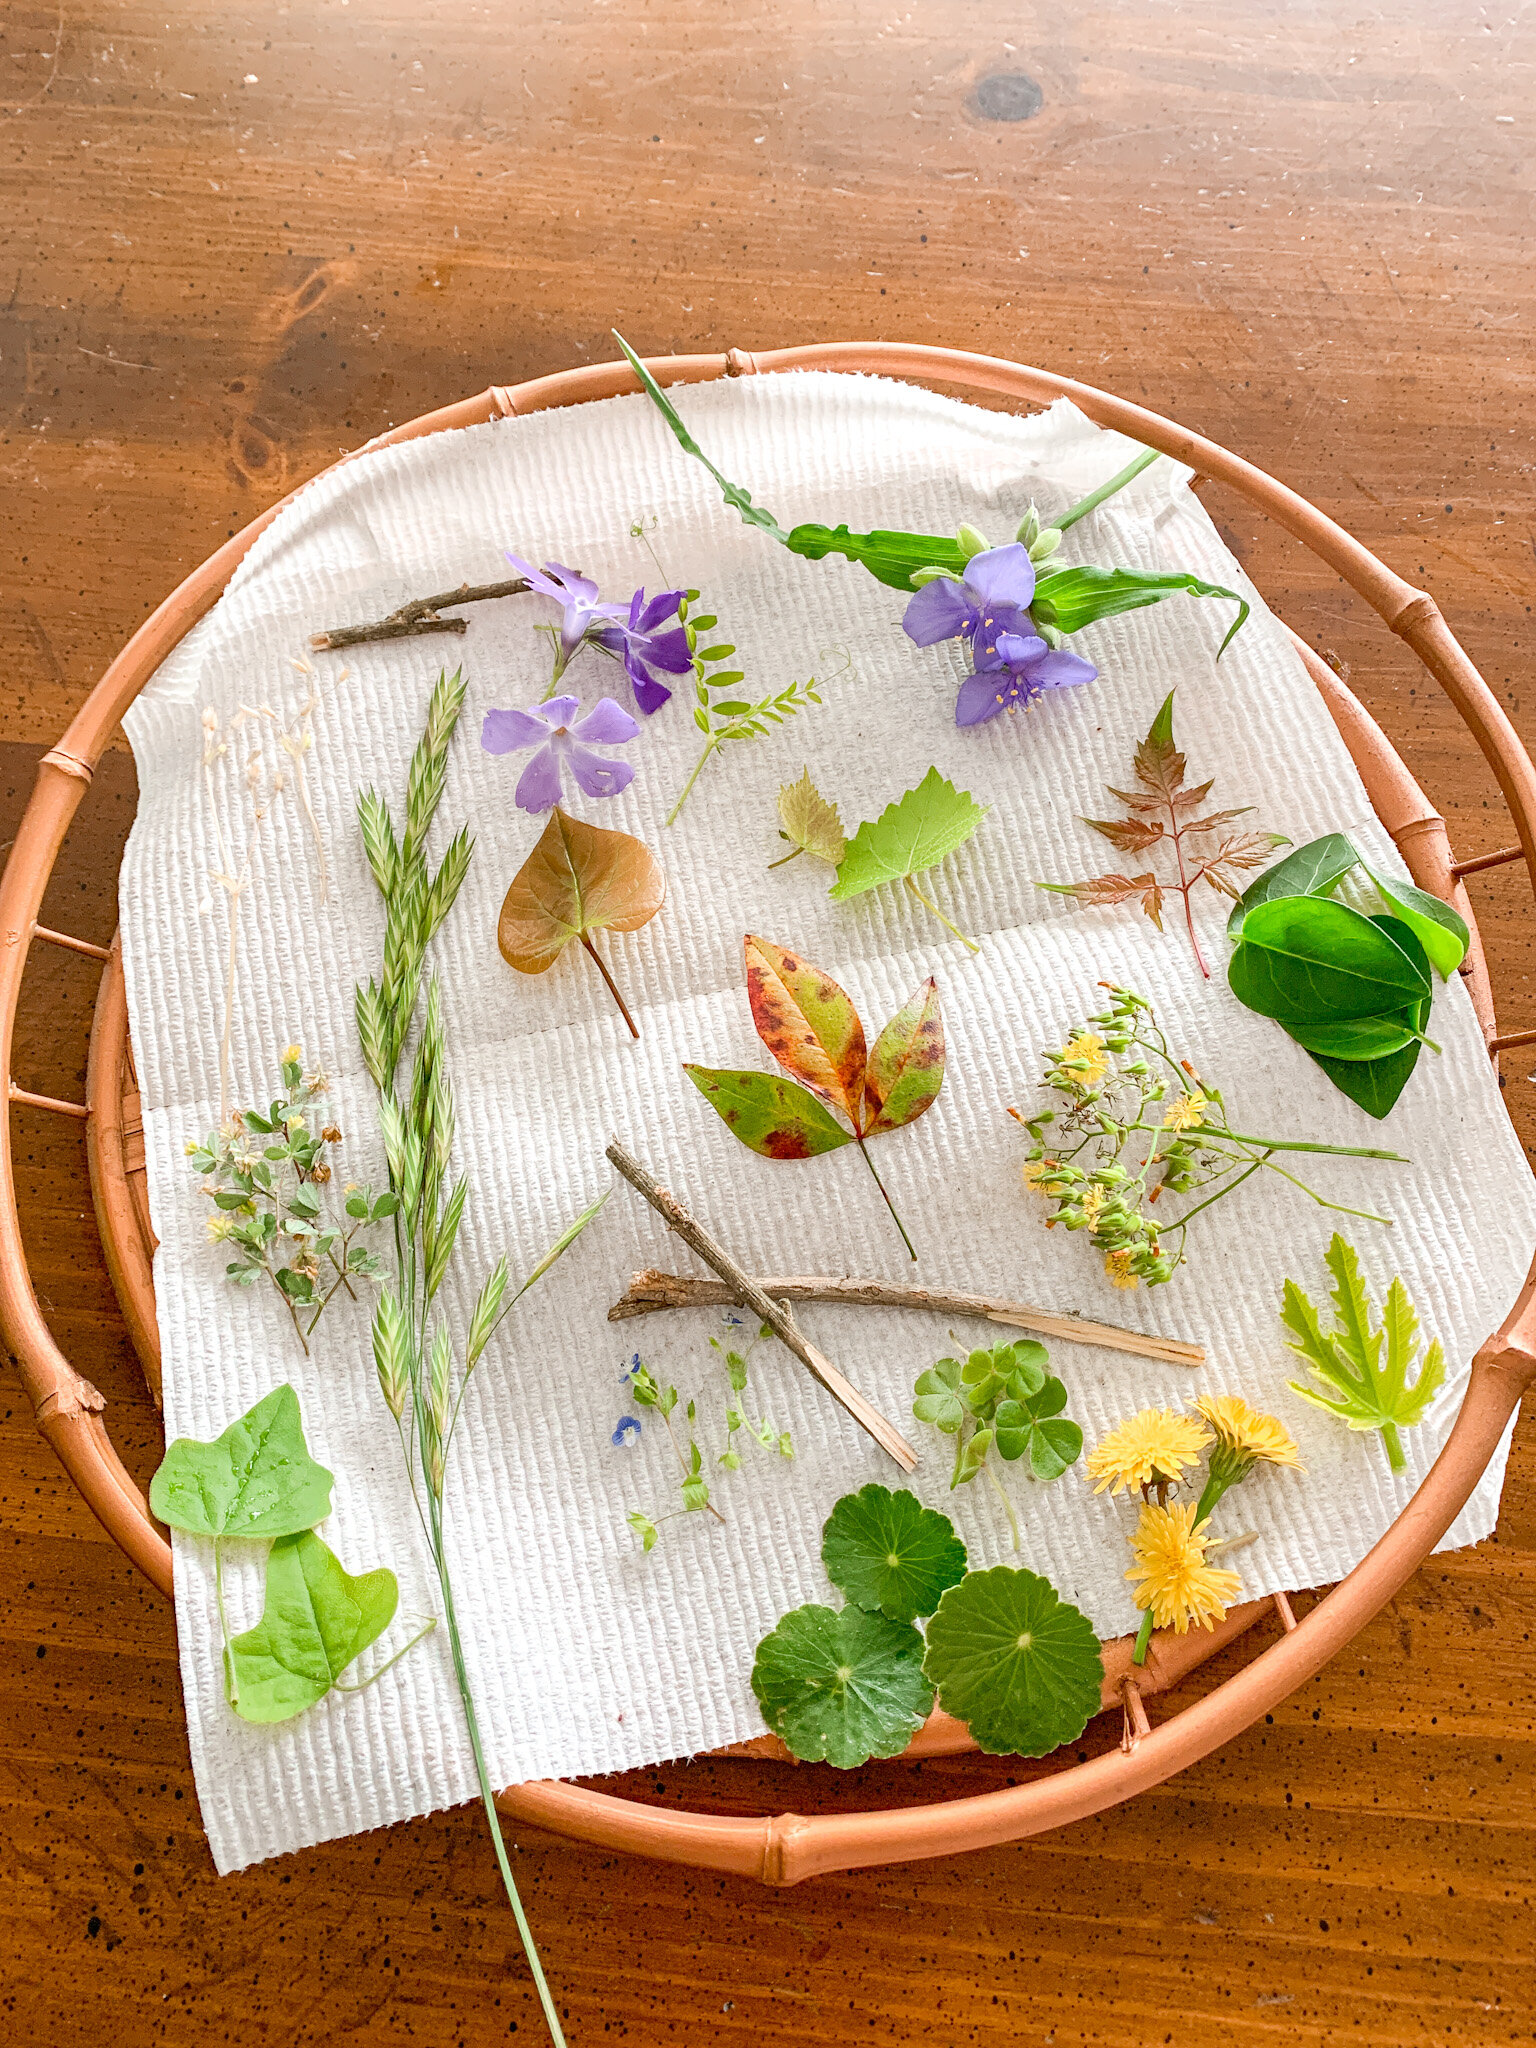
This was actually a good step because there are A LOT of little bugs in flowers and in leaves. I counted at least 5 different kinds in just this small amount of foliage we picked. Plus, it helped to see everything laid out and see all the different shapes and colors.
Step 3: Make the salt dough
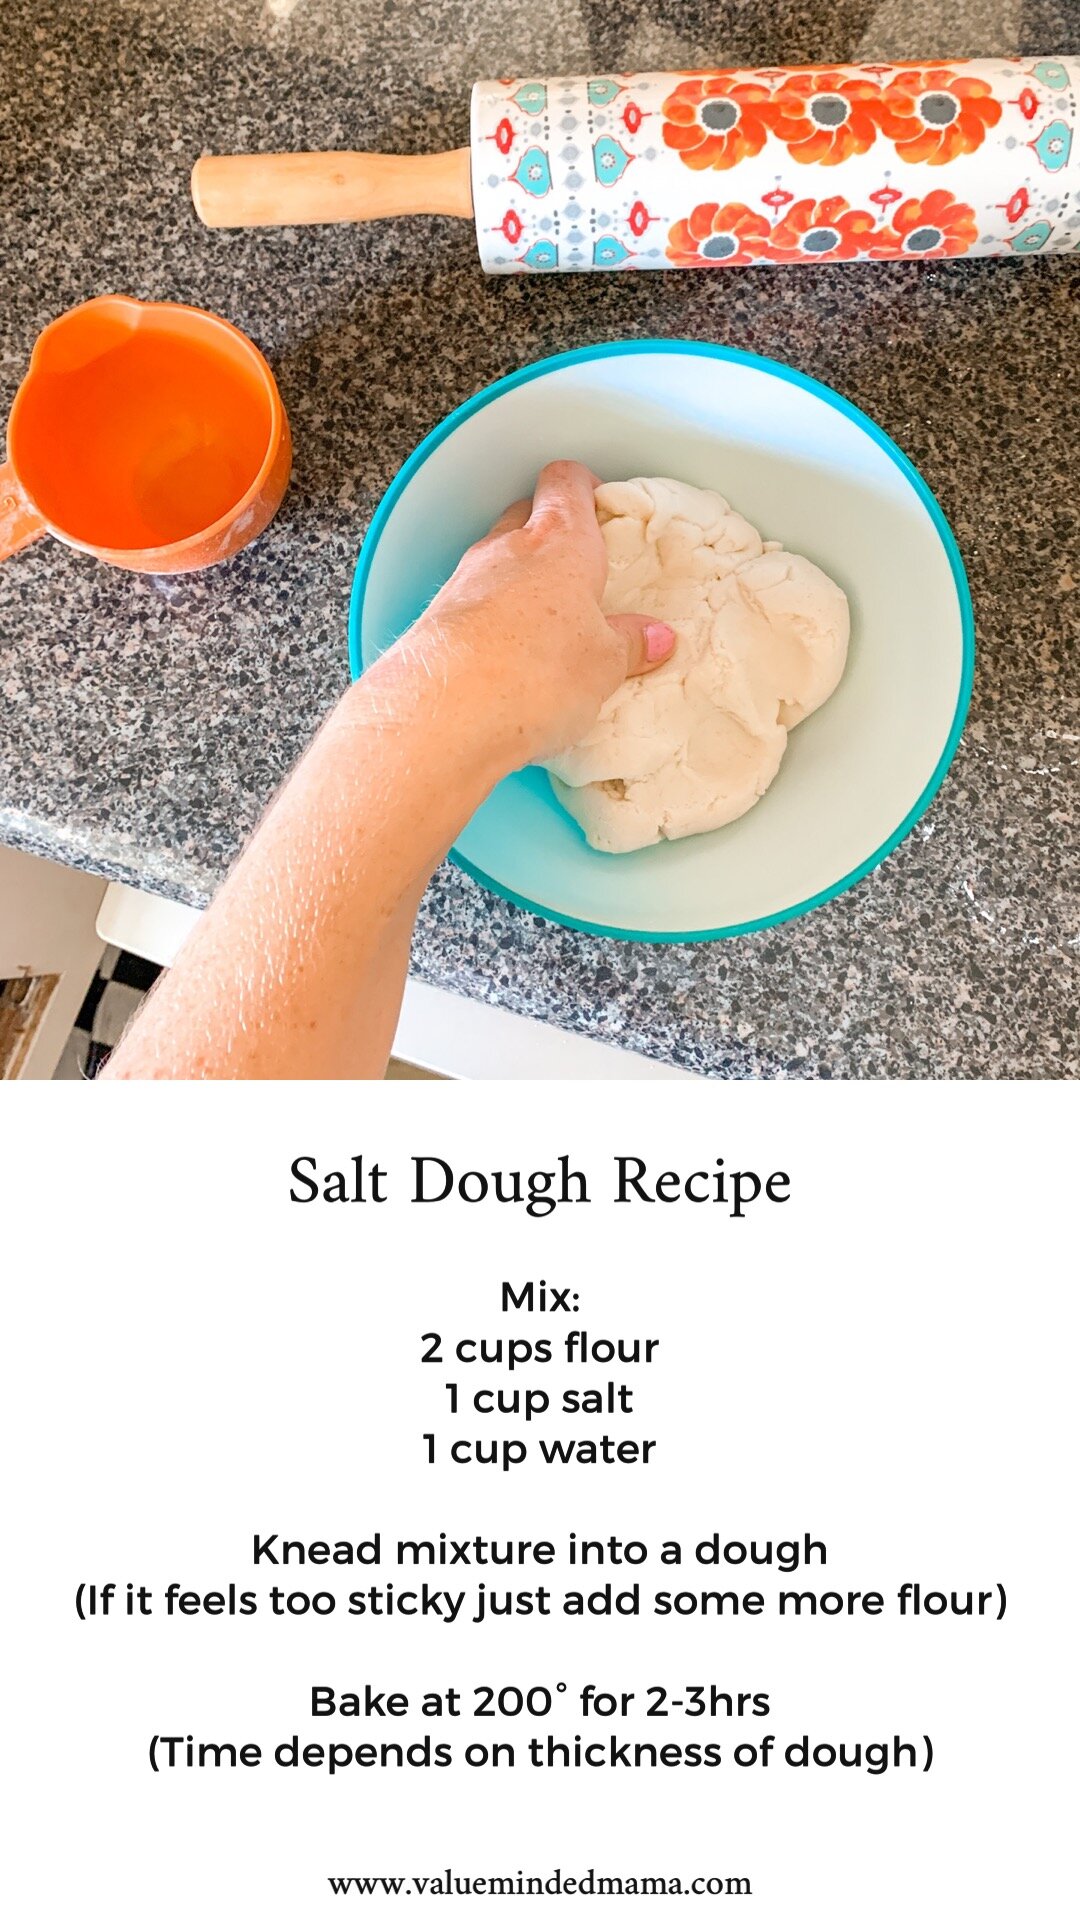
There were a couple different recipes but I wanted to have enough, so I think I ended up making a larger batch. Pictured is about ½ of the batch after I made my ornaments
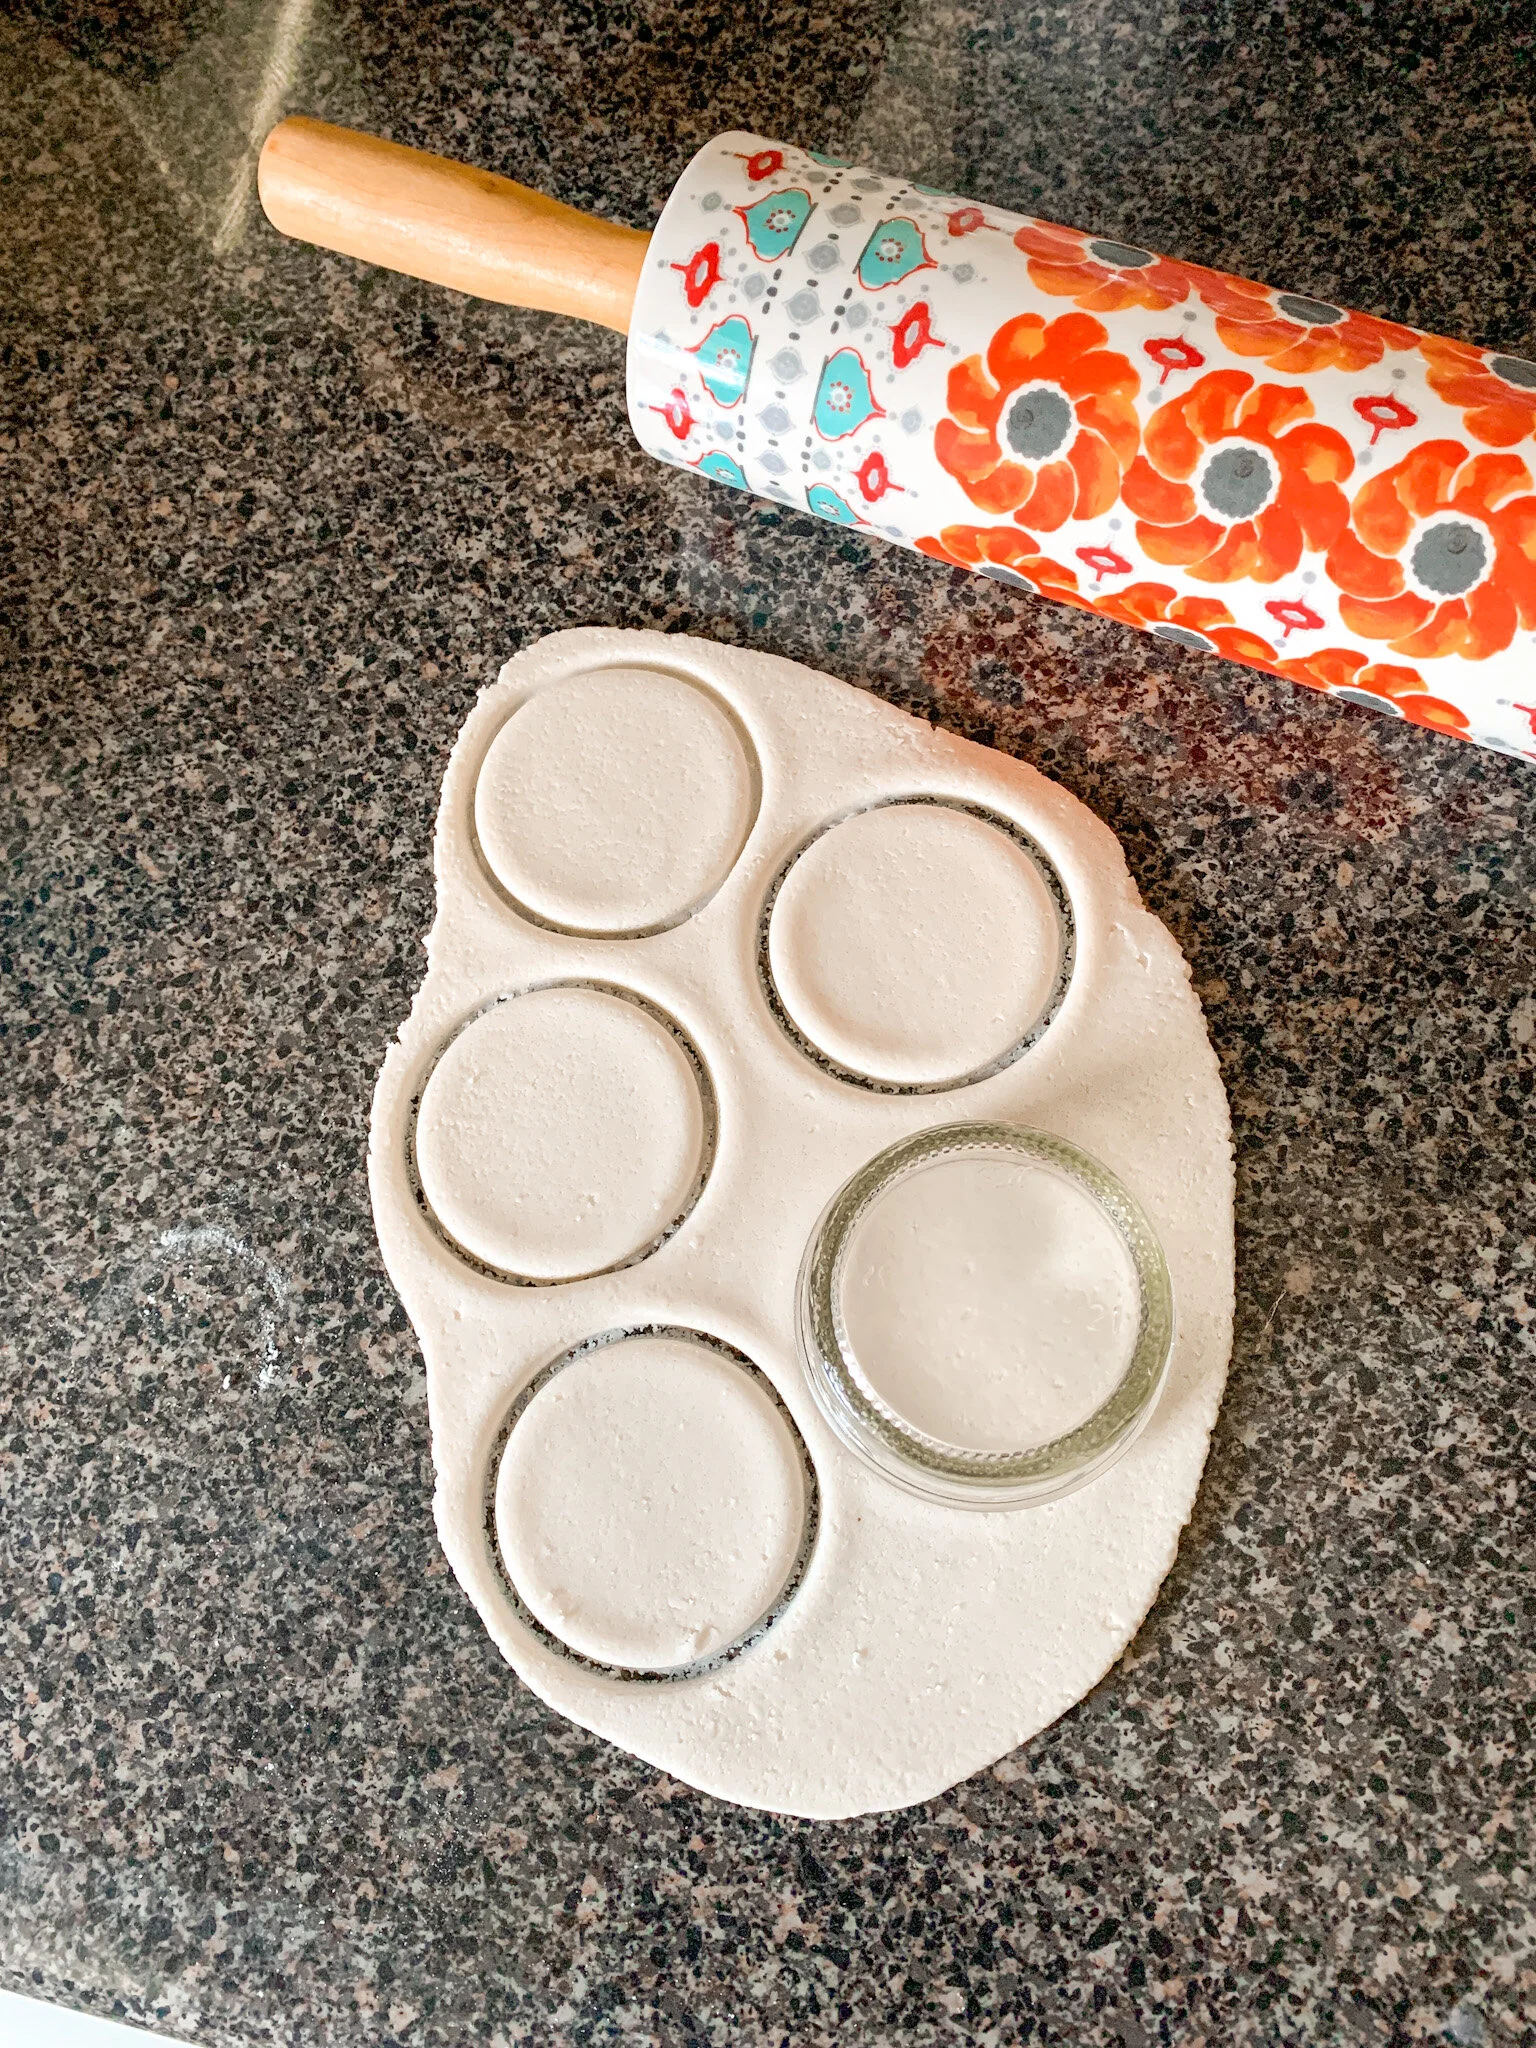
Step 4: Roll & Cut out your ornament design
Just roll out the dough with a rolling pin to the thickness you want. Remember, the thicker it is, the longer it will need to bake.
These are ornaments, not cookies - they need to be sturdy so they won’t break but just enough to hold their shape and whatever you’re putting on top.
As for design, I went with a classic circle. But you could do anything! I also like flower shapes, but I didn’t have a flower cookie cutter.
I didn’t even have a circle cookie cutter! I just used a tiny mason jar (like the little ones for baby food). You could also use playdough cutters if your kids have those (I found ours at the Dollar Tree)!
Step 5: Press the flowers in
So this is what I did! I did not bake the salt dough ornaments first. I just cut out my circles and then pushed the flowers & leaves right into the dough. Make sure you make a hole to hang your ornament BEFORE you bake it!!
(BUT if you want bright, vibrant colors, bake the ornaments FIRST, press the flowers/leaves, then mod podge them onto the baked ornaments. A layer underneath to glue, and a layer on top to preserve/seal.)
If you like the muted/neutral colors I did, bake the flowers/leaves with the ornaments.
Step 6: Bake the ornaments
I did 200° for 2hrs, but I think they would’ve been ready at 1hr, so just keep an eye on them. Then I set them on a cooling rack to dry completely.
When I took them out, some of the leaves had shriveled up and the colors were all very muted and toned down. Just something to be aware of!
Step 7: Decide on a mobile design
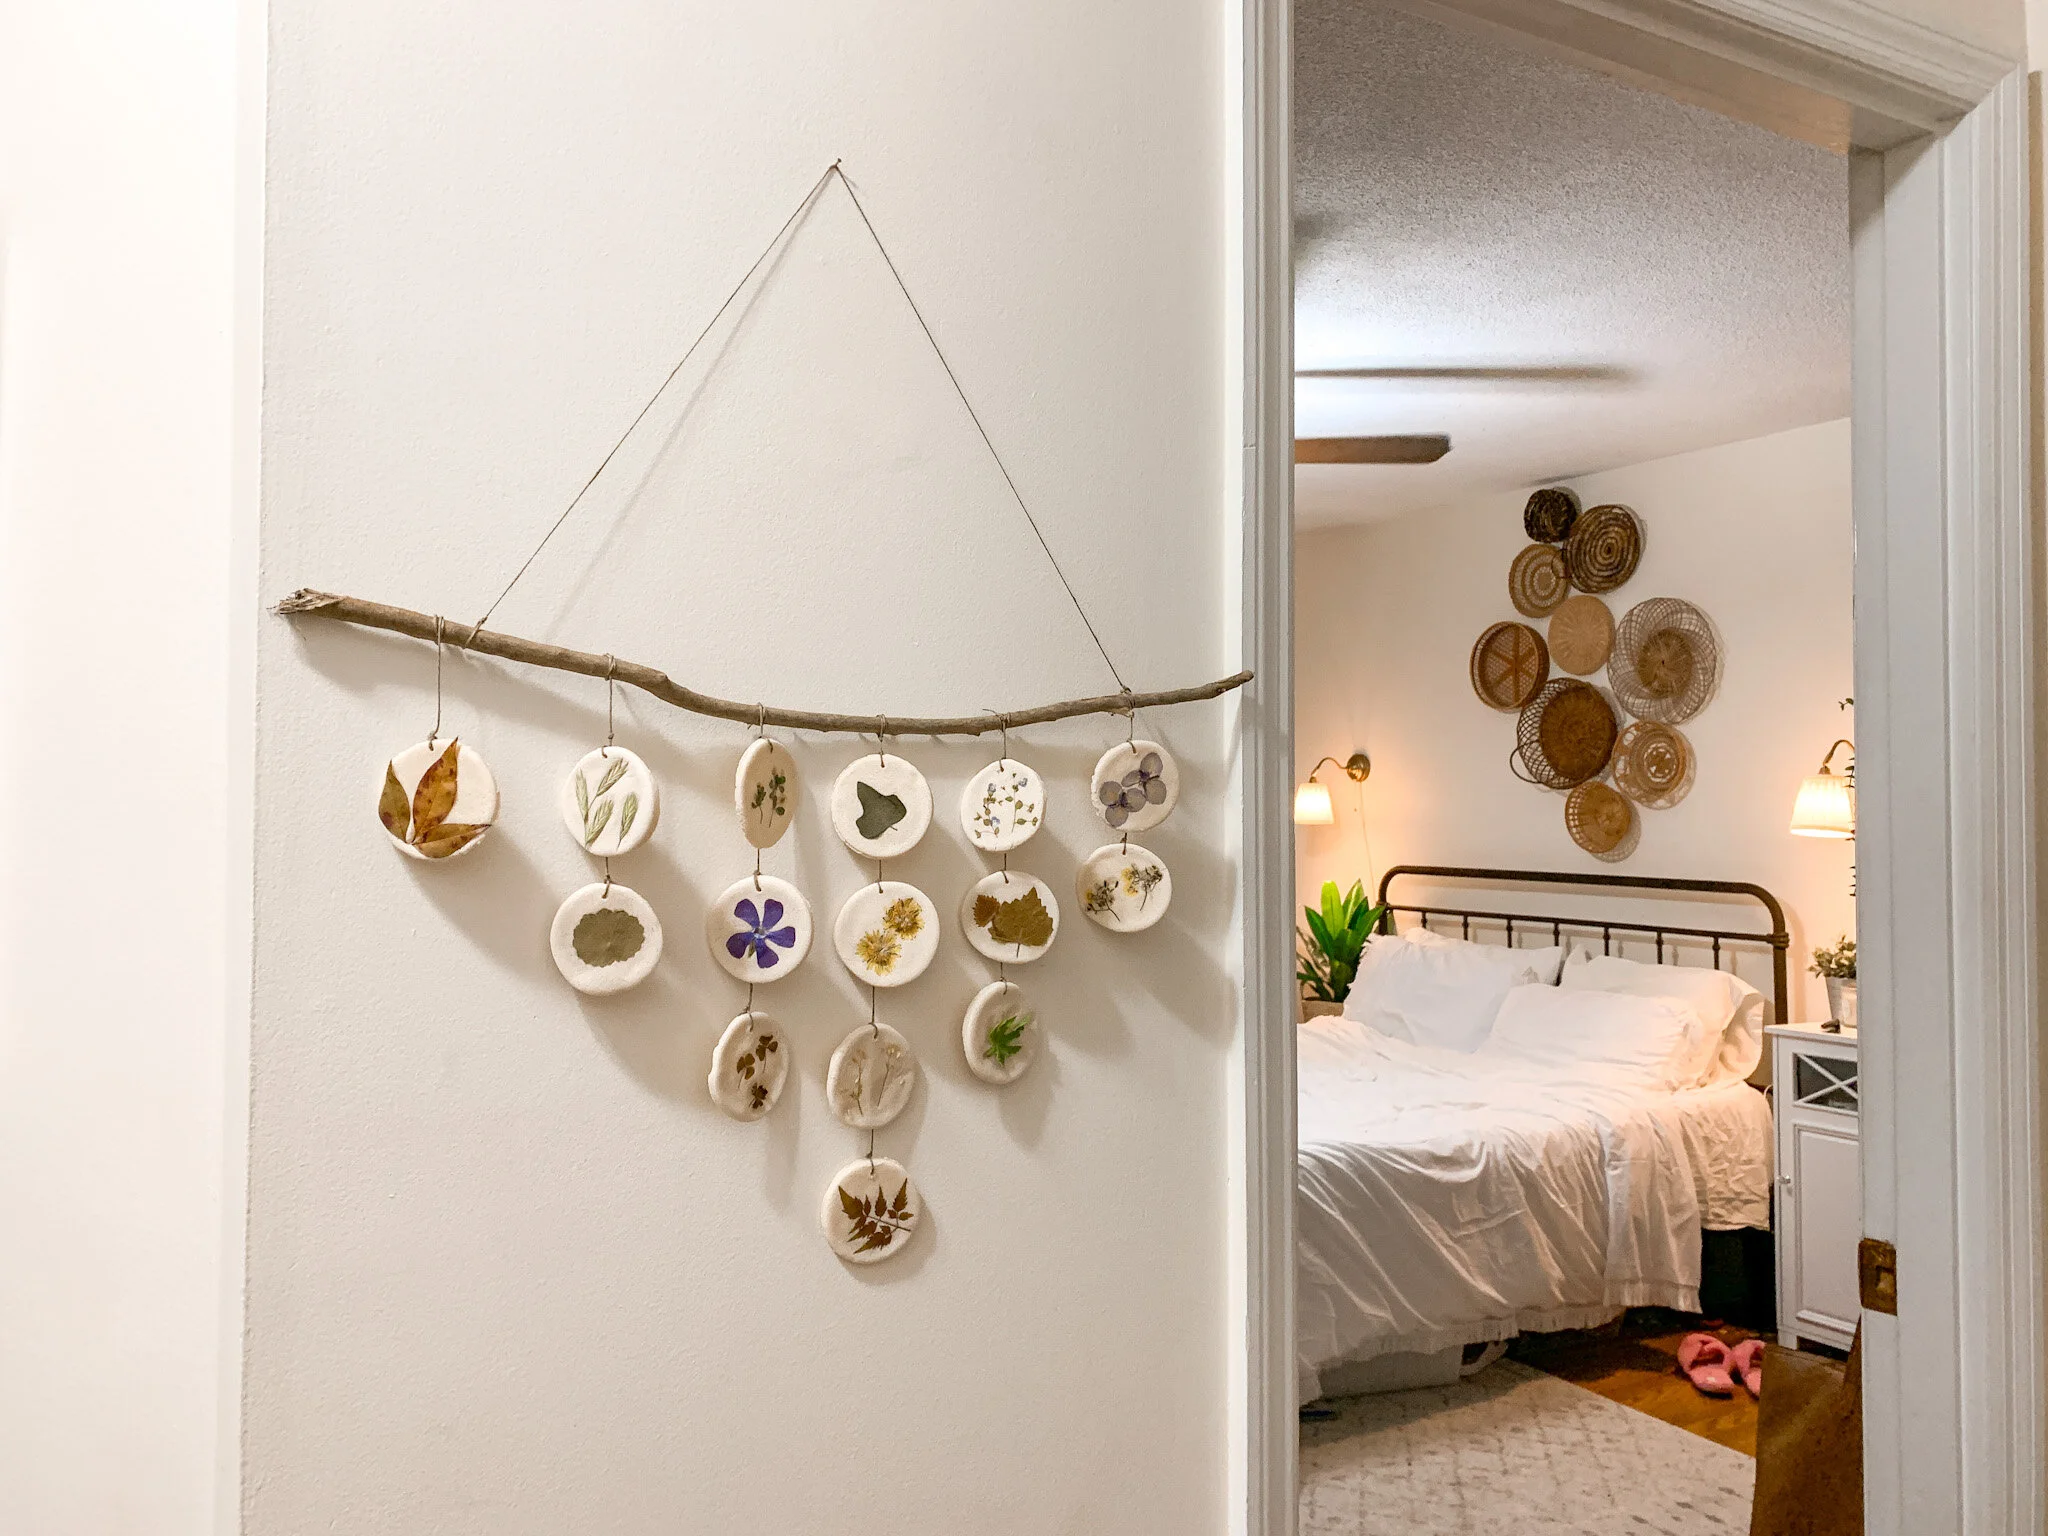
I saw a couple different mobile designs on Pinterest. One, is what I decided to make. Another was with a round hoop - like a traditional baby mobile.
Either would work for this craft. I just liked the idea of a more natural approach using a stick since it was a “nature” craft and readily available outside.
Step 8: Assemble your mobile
All I used for this was a stick, thin twine, scissors and hot glue. You want to make sure whatever string you’re using will fit through the holes you made in your ornaments.
Once you have your string, just string up the ornaments in the design/shape that you want. I used the hot glue to glue down the ends of the strings after I cut them because I’m crazy and didn’t want them sticking out.
Step 9: Hang your mobile
Find an awesome spot for your new nature mobile and enjoy your beautiful creation!
Hopefully this post was helpful for y’all wanting to make these fun DIY Salt Dough Ornaments and Easy Mobile! We had so much fun picking out the flowers and leaves for this craft.
I ended up doing all the salt dough stuff because the kids were playing and were uninterested at that point, but it’s a simple enough craft that kids can help make throughout the whole process!
Tell me in the comments if you made these nature salt dough ornaments and/or the mobile! Tag me @valuemindedmama if you post to social media so I can see your design!

